CONTOUR CUTTING: HOW IT WORKS & TIPS YOU MUST KNOW

4 Contour-Cutting Tips For Fine-Haired Clients
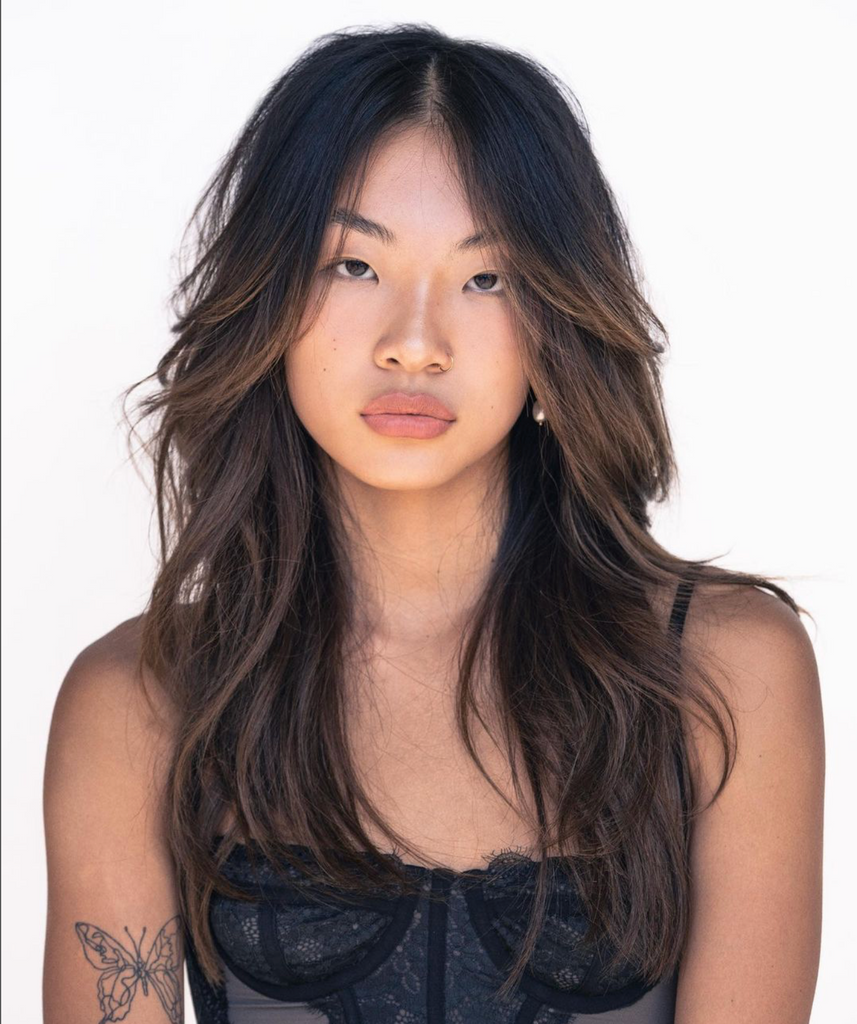
Trend alert! Contoured layers (AKA—layers that frame the cheekbones and chin in a contoured fashion) are a great way to introduce clients to the face-frame game; but, what about fine-haired clients that might be wary of thinner sections around the face?
IGK Hair Director of Education Joel Torres (@joeltorresstyle) stopped by the BTC House to show us how he creates customized, contoured layers for clients with lower density. Keep reading to learn how to section for fine-haired clients, pro tips to keep sections clean and must-have products to get the look.
First Up: What Is Contour Cutting?
In the same way that makeup can drastically contour the shape of your client’s face, custom haircuts like contoured layers are designed to do the same.
The biggest difference between contour cuts and long layers is the density and tailored length. Stylists are moving into the space of acknowledging one long layered cut cannot suit every client. That’s why stylists are custom-tailoring length and density for each client, unlike your standard head diagram.

1. The two things you MUST consider when sectioning…
Joel takes a triangle section that is three to four fingers wide for his client; but, he explains that his section is in relation to the density and recession area.
“Some people have less hair in the recession area,” Joel told us. “So, when that happens, I will go in with a round section [instead] to incorporate more hair from the recession area to compensate when someone has fine hair.”
Pro Tip: Joel’s go-to cutting aid is IGK Hair Good Behavior 4-in-1 Prep Spray for softness and control, combined with IGK Hair Big Time Volume Mousse to provide the support and volume needed for contour layers.

2. Adjust your elevation when THIS happens…
“It’s important to know the density before you choose your elevation,” Joel explains. “If you have fine hair, a low elevation will create the illusion of more hair. When someone has a lot of hair, then you can incorporate more elevation to establish the length but also remove weight.”
In this case, Joel’s client had fine hair so he used a 45-degree elevation when point cutting
Pro Tip: Joel likes to use a longer scissor for a personalized haircut like contoured layers. Here, he’s using ARC™ Scissors PARAGON II 7" because it allows more control for a variety of techniques like slicing and weaving (BTW: Watch Joel’s FULL class to learn more about his weaving scissor technique!)
To try Joel’s preferred scissor, use “CONTOUR15” to save 15% on arcscissors.com!

3. Use this trick to keep your sections clean!
Sometimes fine hair can make it difficult to maintain a clean section: Joel avoids this by flipping his comb over to gather the hair from the underneath.
Pro Tip: To allow the hair to move freely, Joel point cuts his section from both sides. If he point cuts from only one side, the hair will follow and lack movement.

4. How to adjust your body position for density:
This cut is super-versatile because it works with all types of density—as long as you adjust your body position!
For clients with medium to thick density, Joel prefers to stand behind his guest when connecting layers. Here’s why: “I can create a ‘C’ motion, cutting from short to long to create an even stronger shape in the front,” Joel explains.

For clients with fine hair, Joel says this technique doesn’t allow as much control when you work from the bottom up. So, Joel stands in front of clients with lower density.


Comments on this post (0)