

THE VIRAL BUTTERFLY CUT IN 3 STEPS
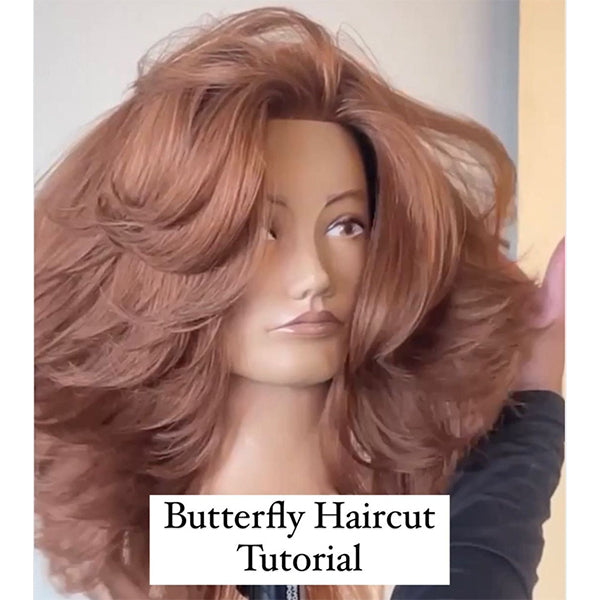
This ultra-sexy, volumized, layered haircut is EVERYTHING on social media right now. The Butterfly cut is more than just a bunch of long layers, so you’ll need the technical breakdown of the trend for the results your clients are expecting. Learn how to balance and volumize this cut with tips from the one who made it all viral, @ahappyjustin!

Photo Credit: Instagram via @ahappyjustin
Step 1: Begin Sectioning The Fringe In A Triangle
Depending on how thick of a fringe your client wants will determine how deep to part your triangle section. Make sure you ask this question! This haircut can quickly look unbalanced without discussing the details.
Once your triangle is sectioned, cut the fringe using this technique:
- Split the triangle into three even, vertical sections.
- Cut the middle section first, this will be your guide. (Labeled as 2 in the image below.)
- Take either side section and overdirect the hair forward and cut to the middle guide.

Step 2: Create The Butterfly Face-Frame With Vertical Sections
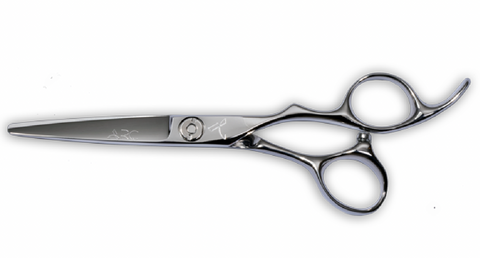
The key to the “butterfly” layered effect is cutting smooth, even sections that do not fray through the ends. This haircut is heavily layered, meaning it’s essential to use razor-sharp scissors that do not snag the hair. Creating any kind of hole or breakage will disrupt the symmetrical blend needed. To ensure precise, clean lines Justin uses his go-to, ARC™ Scissors Master Series Paragon II.
THE PARAGON II:
Here’s how to cut the face-framing section:
- Your face-framing sections will start behind the fringe and stop once you reach the ear.
- Take vertical sections and overdirect each one to the front, still using your initial guide to cut.
- Keep the hair in each section held at 90 degrees—this ensures balanced layers.
Pro Tip: Be cautious to not gradually let these vertical sections become larger! This will create a bulky, ’70s-inspired face frame rather than the airy look we’re going for.

Step 3: Create Layering Through The Back Without Losing Length
To avoid turning this layered cut into a shag, keeping length through the back is super important. Each layer should cascade over the next creating organic graduation.
To achieve layered length in the back, try this:
- Justin recommends using larger, less precise sections throughout the back of the head.
- Hold the hair at a 45-degree elevation, this will protect the length while still creating blended layers.
- Use very light tension. Pulling the hair too taut will result in shorter layers once you blow-dry.
Pro Tip: Bring the crown section fully forward at 45 degrees and cut to the length of the fringe guide. This will create a perfect balance from the face frame into the longer layers.
Watch Justin’s full tutorial on IG here:


Comments on this post (0)