6 Ways To Master Matt Swinney's 6-Figure Haircut

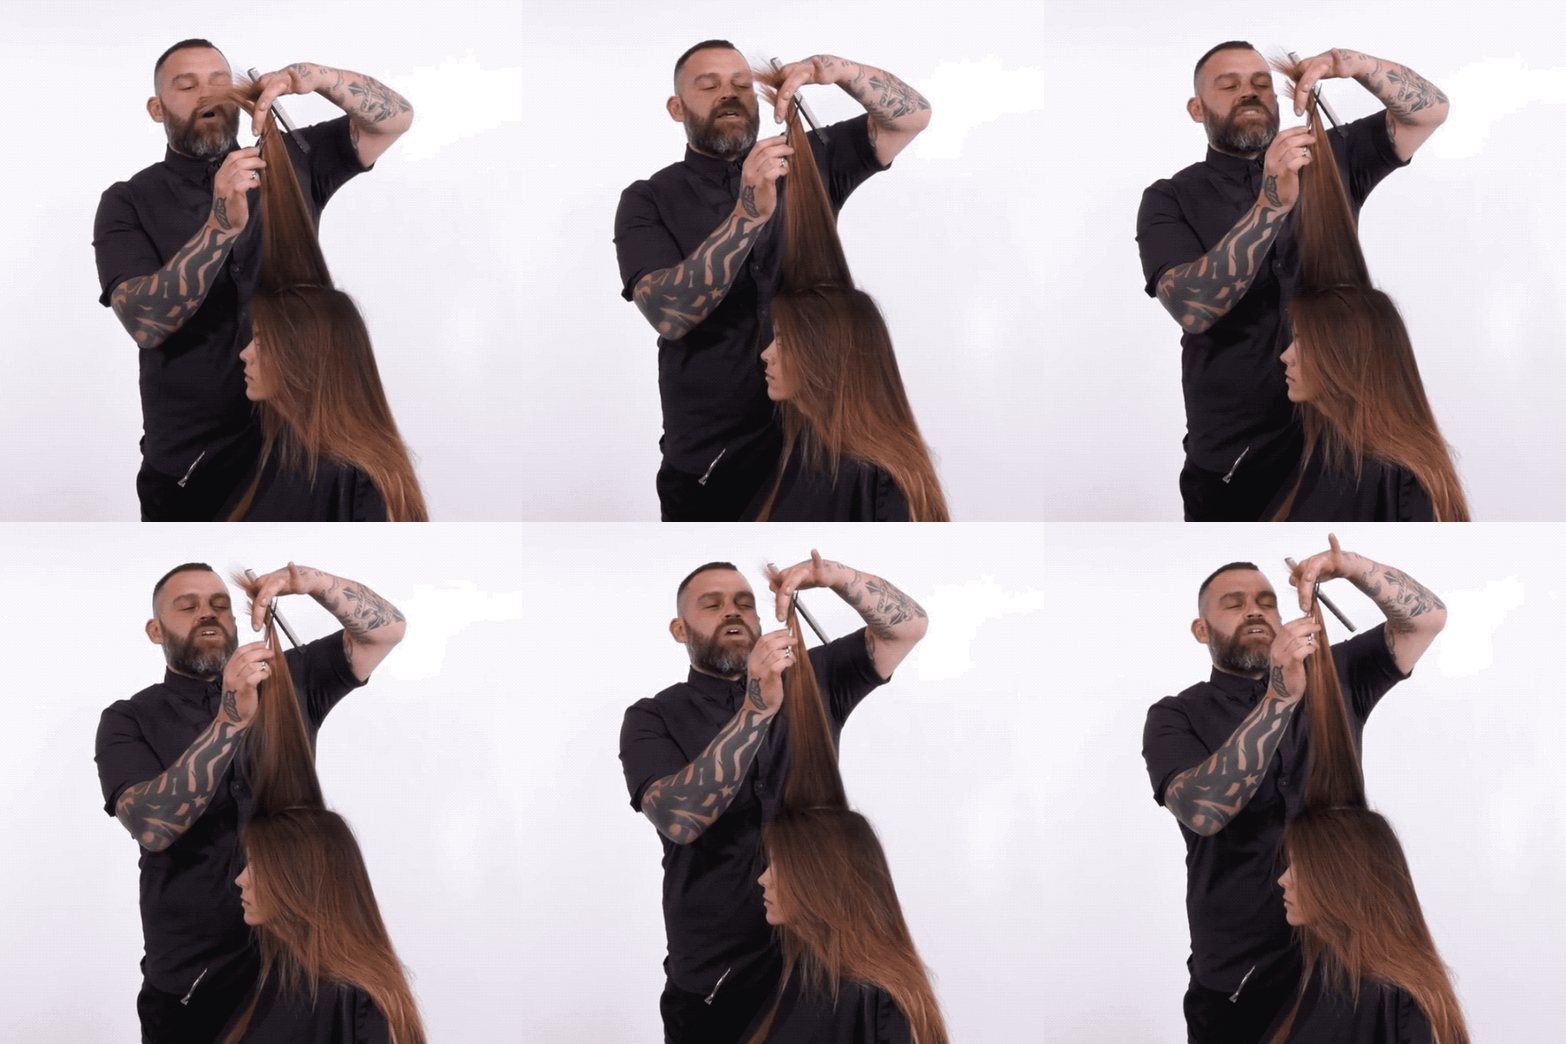
Looking to make more money while growing and maintaining your current clientele? It’s all in the haircut! So L’ANZA Healing Haircare Global Creative Director @matt.swinney dropped by The BTC House to spill the deets on his signature 6-figure haircut that is guaranteed to keep your schedule booked.
Grab six of the tips he shared below, then click here to purchase the full step-by-step video at BTCU!
Tip 1: Cut The Hair Dry
“When I’m doing the 6-figure haircut I like to do it in a dry format,” says Matt. “The reason that we use dry hair as our base is because then we know, and our client knows, how much we’re taking off.” An added bonus? Dry-cutting lets you see how the hair naturally moves and lays.

Tip 2: Keep The Tension Consistent
It’s important you maintain the same amount of tension as you work around the head because whether you’re a light-tension cutter or tight-tension cutter, your cuts will look more uniform if you stick to one type of tension. “One of the biggest things behind the chair that really makes people successful is consistency,” advises Matt.
Pro Tip: When snipping the perimeter, Matt prefers to use a wide-tooth comb vs. his hands for a looser tension. “Three things will ruin a blunt line: tension, elevation and over direction. So we want to keep very light tension, zero elevation and no over direction.”
Tip 3: Switch Shears Depending On The Type Of Cut
As he worked along the hair, Matt alternated between two scissors—the ARC™ Scissors 7″ PHANTOM and the 6″ SAGA Slim—depending on what type of cut he was going for. The 7″ PHANTOM was used on the face-framing area, since the blades are sharp from pivot to tip. Matt can slide cut through the hair without the scissors snagging or pulling, creating frizz. While the 6″ SAGA Slim was used to texturize the hair, because of it's exceptionally sharp point making it easy to point cut.
Tip 4: Cut The Face-Frame Based On Her Texture
How the hair is elevated when cutting the face-framing area will decide how full or how soft the cut will be. For finer hair, it’s crucial to keep the hair closer to zero degrees. When working with denser hair, the hair should be more elevated to create softness.

Tip 5: Keep Density In Your Layers
When cutting excess weight off the ends, it’s super important you don’t lose any density. “Long hair grows out best when it kind of trails off and you keep a little bit more density in the back,” instructs Matt. “The more diagonal the shear hits the hair, the stronger the texture becomes. The more parallel the shear is to the hair, the softer the texture is.”

Tip 6: Blend The Layers With The Perimeter
Finish the cut by blending the layers with the perimeter. First, glide the fingers through the hair until you reach the end. Then, twist the hair and set the scissors inside the twist. Bring the scissors through in a slight open and close motion at an angle to soften and blend the hair, but DO NOT close the shears all the way or you’ll remove too much.


Scissors Used
Want to learn more? Click here to purchase Matt's class on BTC University and have lifetime access!


 ARC™ PHANTOM 7"
 ARC™ SAGA SLIM

Comments on this post (0)