SHAGS: 5 TIPS TO CUT LAYERS LIKE A PRO
Ask A BTC Expert: 5 Shag Questions & Answers
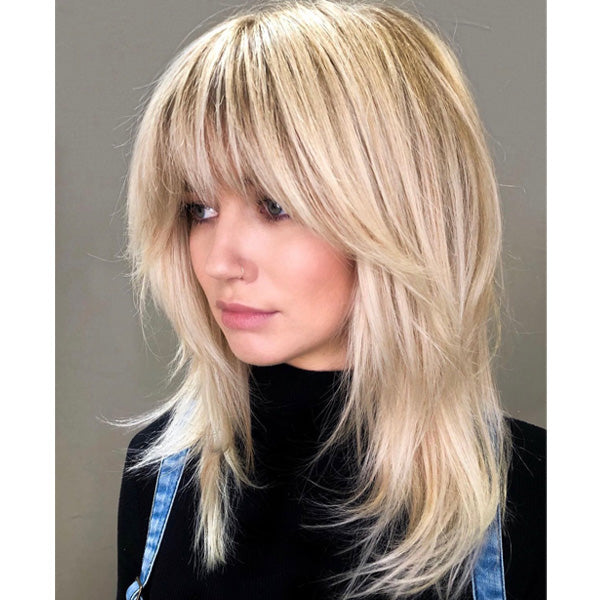
The shag is 2025’s most-requested haircut, so now that clients will be asking for layers and fringe galore, let’s get back to basics. We featured shag expert and ARC™ Scissors Hair Architect Rachel Stylist (@rachelwstylist) on “Ask A BTC Expert” to get answers to your biggest questions. Keep scrollin’ for FIVE tips and watch the full IGTV below!
Get lifetime access to Rachel’s 90-minute SHAG CLASS on BTC University for only $24.95. Click here!
#1: How do you start a shag haircut? What are the must-know steps?
Your idea of a shag might be different from a client's—so always start with a thorough consultation, and from there, decide the best way to approach the haircut. Here are a few key reminders from Rachel!
- Consultation is EVERYTHING. There are so many different variations of the shag, so discussing the client’s hair texture, face shape and lifestyle will help you customize the haircut.
- Lifestyle determines approach. Consider how the client wears their hair: naturally curly, curls with an iron, wavy or straight. This will determine how you cut the shag—wet, dry or both.
- Talk to clients about layers. The shag is very layered, so even if you maintain length, the client will see a lot of hair hitting the floor. Give them a heads up to manage their expectations.
- Start with the face frame. Create the fringe and face-framing first to be able to connect the back layers to the front.
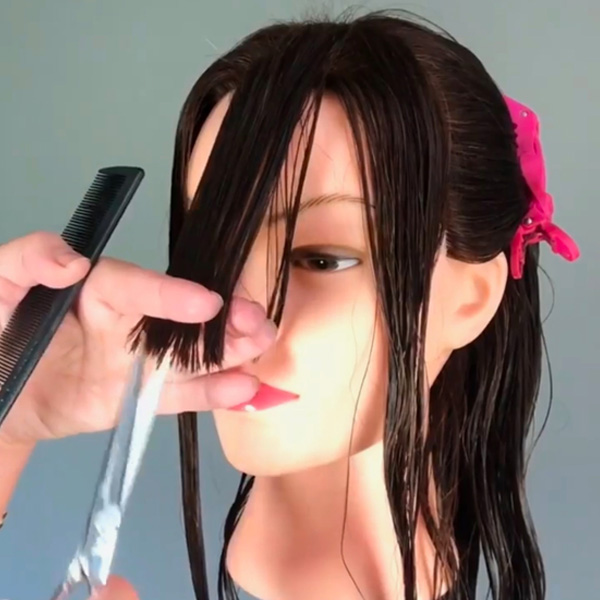 Start shag haircuts HERE! // Instagram via @rachelwstylist
#2: How do you texturize without removing too much weight?
To truly see where the weight needs to be removed, the hair needs to be dry and in its natural state, says Rachel. This will help you see as you work, and prevent removing too much weight!
Pro Tip: Know Your Texturizing Shears!
Ask yourself, what percentage of hair do my shears remove? Rachel loves to work with ARC™ Scissors SYMMETRY 30/2 Reversible Blender shears because they remove 20 percent of the hair. That way, she has more control because the shears soften the cut without removing too much weight at once.
Want to try Rachel’s go-to scissors?! Click here to buy the SYMMETRY 30/2 Reversible Blender!
#3: What are the best tips for connecting short to long layers?
The best way to do this is by finding the two connecting points: the back, longer layer and the front layer. Then, find the easiest route to connect the two points. Once you have the connection point, cut to connect the layers.
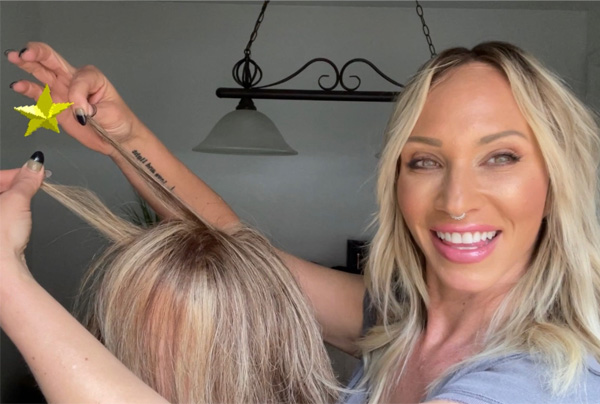 Find the two connecting points and cut here! // Instagram via @rachelwstylist
#4: How do you cut a shag without making it look mullet-y?
To understand this, we must break down the biggest difference between the mullet and shag: Connection vs. disconnection of the sections behind the ear. Remember this! The layers of a shag connect from the front to back. Mullets have a complete disconnection, like two different haircuts, longer in the back and shorter in the front.
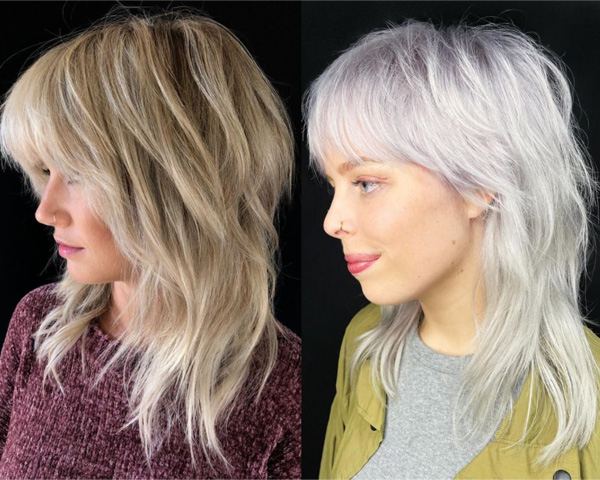 Shag vs. Mullet // Instagram via @rachelwstylist
#5: What are the best ways to style a shag?
One of the best perks of having a shag is how versatile they are! Whether a client likes to air-dry their hair to let their natural curl or wave pattern pop, or they want a fresh flipped-out blowout, here are some of Rachel's go-to styling tips.
- Naturally Curly Shags: Air-dry! Add a curly cream, scrunch the hair and hand-style to manipulate the front.
- Don’t Have Time To Air-Dry? Use a diffuser to shape the curls.
- Tousled, Undone Shags: Do a blowout (or let the hair air-dry!) to enhance their natural texture and add some texture spray.
- Volume + Soft Movement: Prep with a volumizing mousse on damp hair before a blowout and finish with a soft working spray.
- Fringe: For shorter fringe, bump the front with a round brush. For longer fringe, use a blow-dryer and round brush to flip the hair and curl the rest. Finish with a texturizing spray for soft, beachy texture.
Check out these different shag finishes!

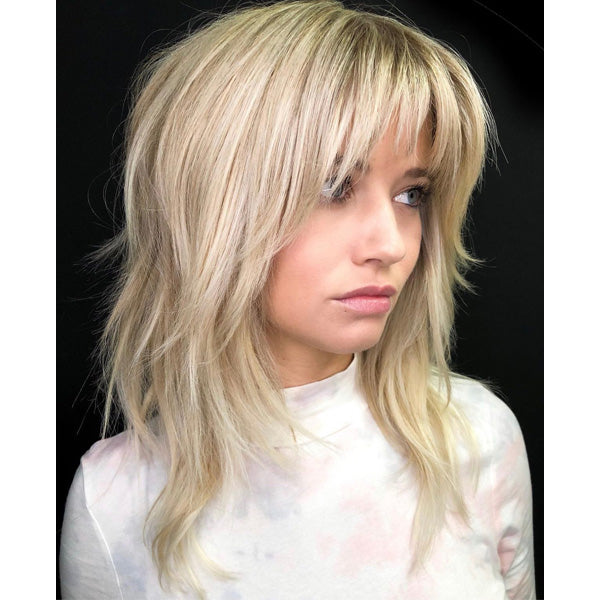


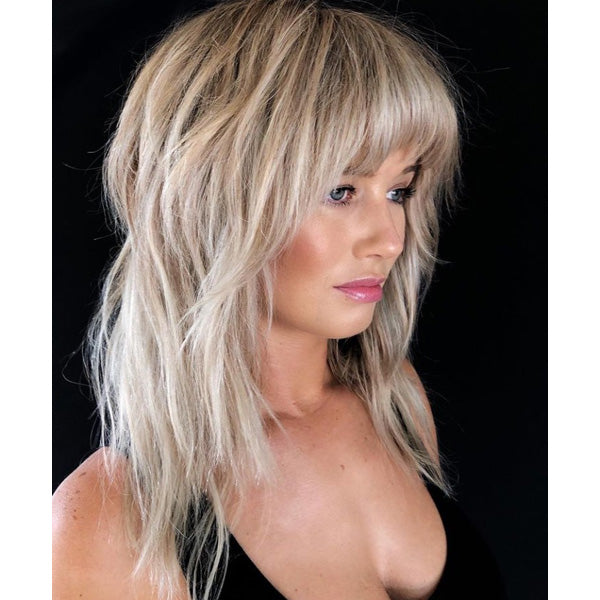
all images via Instagram @rachelwstylist
Watch The Full Ask A BTC Expert IGTV Below!



Comments on this post (0)